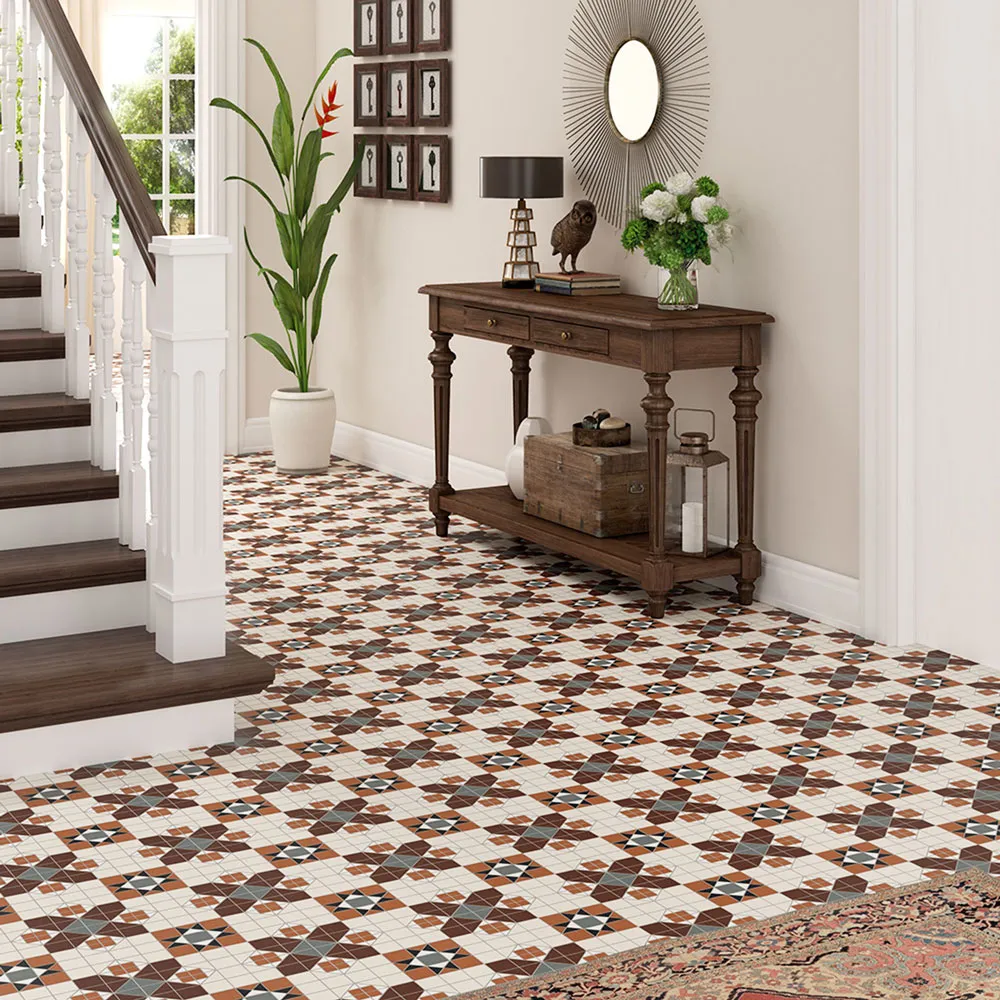
Tile uninstallation and installation work involves the process of removing existing tiles from a surface and replacing them with new tiles. Here is a general description of the solution for tile uninstallation and installation work:
Preparation: Start by preparing the area where the tile uninstallation and installation will take place. Clear the space of any furniture, fixtures, or obstacles. Ensure that the surface is clean and free from dirt, dust, and debris.
Tile Uninstallation: a. Removal: Begin by removing the grout between the tiles using a grout removal tool or a rotary tool with a grout blade. Carefully scrape away the grout to avoid damaging the underlying surface. b. Tile Removal: Once the grout is removed, use a tile removal tool, such as a chisel or a tile pry bar, to gently lift and pry the tiles from the surface. Start at an edge or corner and work your way across the area, applying even pressure to avoid cracking or breaking the tiles. If necessary, tap the tool with a mallet to help loosen stubborn tiles. c. Adhesive Removal: After the tiles are removed, there may be adhesive or mortar residue left on the surface. Scrape away the adhesive using a putty knife or scraper. If the residue is stubborn, you may need to use a solvent or adhesive remover following the manufacturer's instructions. Thoroughly clean the surface once all the adhesive is removed.
Surface Preparation: a. Repair: Inspect the surface for any cracks, damage, or unevenness. Repair any issues before proceeding with tile installation. b. Leveling: Ensure that the surface is level and smooth. Use a leveling compound or self-leveling underlayment if needed to create a flat and even surface for the new tiles. c. Priming: Apply a suitable primer to the surface to improve the adhesion of the tile adhesive.
Tile Installation: a. Layout and Planning: Plan the tile layout and design before applying adhesive. Measure and mark guidelines to ensure accurate placement and alignment of the tiles. b. Adhesive Application: Apply tile adhesive or mortar to the surface using a notched trowel, following the manufacturer's instructions. Spread the adhesive evenly and in small sections to prevent it from drying out before placing the tiles. c. Tile Placement: Carefully place the tiles onto the adhesive, pressing them firmly and evenly. Use tile spacers to maintain consistent spacing between the tiles. d. Grouting: Once the adhesive has cured, typically after 24-48 hours, remove the tile spacers and apply grout between the tiles. Use a grout float to spread and press the grout into the gaps. Wipe away excess grout with a damp sponge, and let it cure according to the manufacturer's instructions. e. Sealing: If required, apply a suitable tile sealer or grout sealer to protect the tiles and grout from stains and moisture.
It is essential to follow proper safety precautions, wear protective gear, and consult professional guidance or hire experienced tile installers for complex or large-scale projects.

